Artillery 이용한 다양한 테스트 방법입니다.
config:
  target: "<https://jsonplaceholder.typicode.com>"
  phases:
    - duration: 20         # 첫 번째 단계: 20초 동안 5명의 사용자/초 도착
      arrivalRate: 5
      name: "Warm-up phase"
    - duration: 30         # 두 번째 단계: 30초 동안 20명의 사용자/초 도착
      arrivalRate: 20
      name: "Peak traffic"
    - duration: 10         # 세 번째 단계: 10초 동안 트래픽 급감
      arrivalRate: 2
      name: "Traffic drop-off"
    - duration: 60         # 네 번째 단계: 60초 동안 일정한 트래픽 유지
      arrivalRate: 10
      name: "Sustained load"
scenarios:
  - name: "Fetch posts and details" # 첫 번째 시나리오: 게시글 조회 및 상세 정보 확인
    flow:
      - get:
          url: "/posts"
      - get:
          url: "/posts/1"
  - name: "Create and update post" # 두 번째 시나리오: 게시글 생성 후 업데이트
    flow:
      - post:
          url: "/posts"
          json:
            title: "New Post"
            body: "This is a test post created by Artillery."
            userId: 1
      - put:
          url: "/posts/1"
          json:
            title: "Updated Post"
            body: "This is an updated test post."
  - name: "User flow simulation" # 세 번째 시나리오: 사용자 플로우 시뮬레이션
    flow:
      - get:
          url: "/users/1"
      - get:
          url: "/users/1/posts"
      - post:
          url: "/comments"
          json:
            postId: 1
            name: "Artillery User"
            email: "test@example.com"
            body: "This is a test comment."
YML 설명
phases
- Warm-up phase:
- 초기 단계에서 적은 부하로 시스템을 "예열"합니다.
- Peak traffic:
- 최대 트래픽을 주어 서버의 한계를 테스트합니다.
- Traffic drop-off:
- 트래픽이 갑자기 줄어드는 상황을 시뮬레이션합니다.
- Sustained load:
- 일정 부하를 주어 장기적인 안정성을 확인합니다.
scenarios
- Fetch posts and details:
- 모든 게시글을 가져오고, 특정 게시글의 상세 정보를 확인합니다.
- Create and update post:
- 새 게시글을 생성한 후, 이를 업데이트합니다.
- User flow simulation:
- 특정 사용자의 데이터를 조회하고, 댓글을 남기는 전체적인 사용자 플로우를 시뮬레이션합니다.
실행 방법
1. 파일 이름을 advanced-load-test.yml로 저장합니다.

2. Artillery를 사용해 실행합니다
artillery run advanced-load-test.yml
3. artillery run advanced-load-test.yml
실행 결과
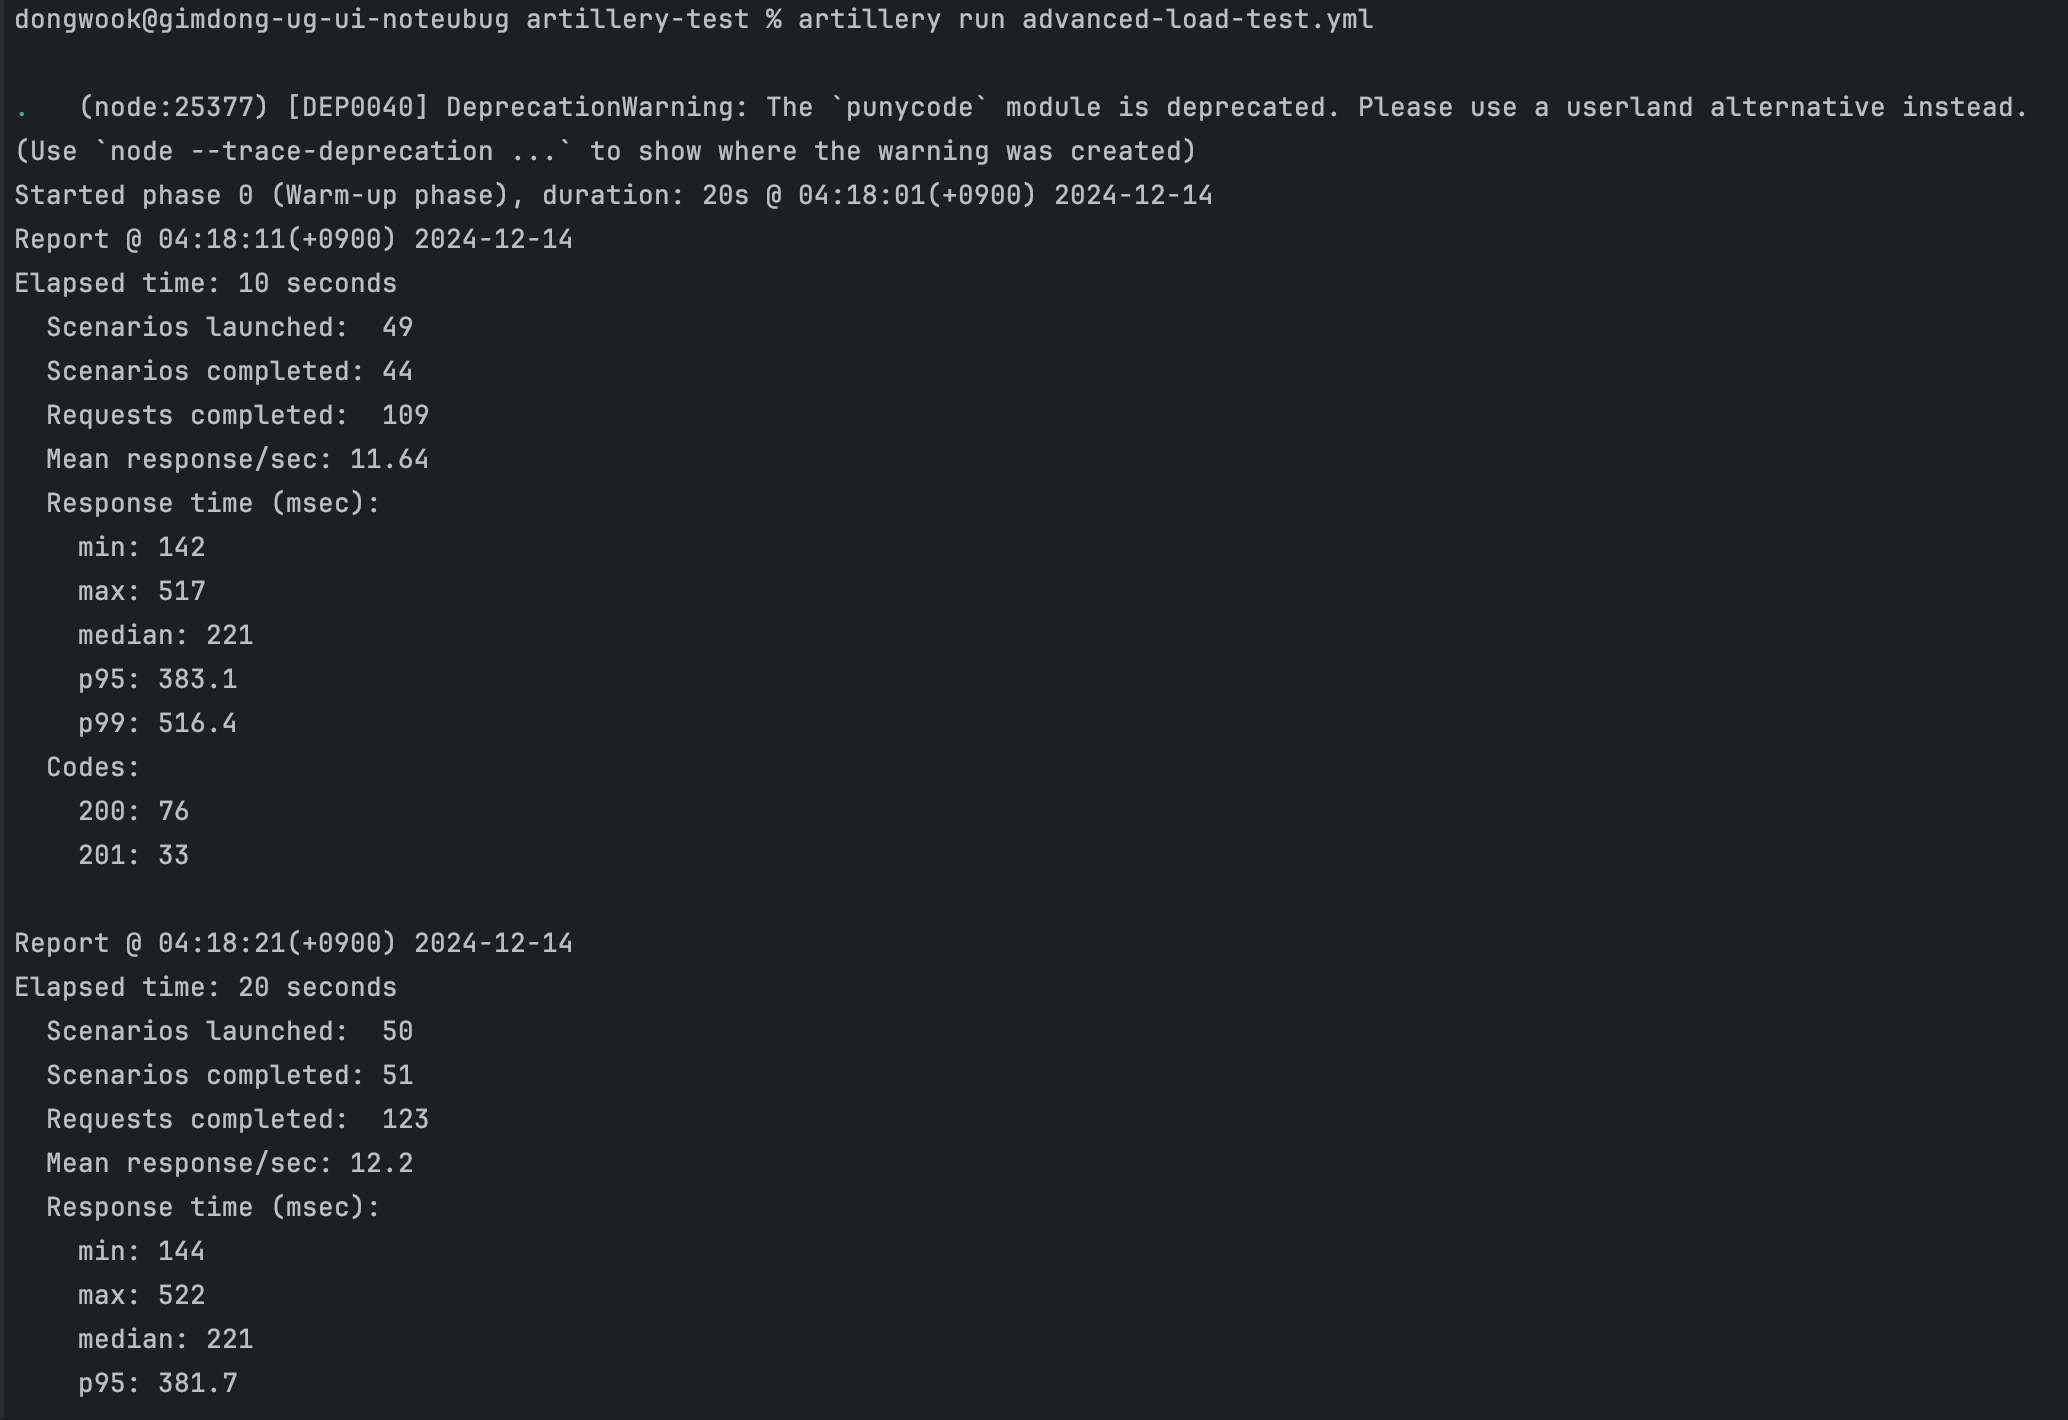
다음 블로그에서는 실행 결과를 JSON 파일로 저장한 뒤, HTML로 변환하여 테스트 결과를 시각화하는 과정을 공유하겠습니다.
'성능테스트 > Artillery' 카테고리의 다른 글
| Artillery 이용한 테스트 저장 및 결과 분석 (3) | 2024.12.14 |
|---|---|
| 성능 테스트와 Artillery 기본 개념 (0) | 2024.12.08 |